Running NixOS on a consumer NAS
I have an old whitebox server sporting a Xeon E5 (v1) that I'd like to get rid of. It's running a handful of VMs on Proxmox. Most of them I can get rid of by moving their services to Kubernetes, but I wasn't sure what I wanted to do with my NAS VM and Plex server. The latter you can easily run in Kubernetes but I'm not planning on having particularly powerful nodes and I need transcoding.
When I was looking at potential consumer NAS boxes I noticed in a teardown of Terramaster F2-221 that there's an internal USB header with a USB stick running the OS which gave me hope of running any OS that I want on it (that and that it has a standard x86_64 Intel CPU). This may very well be the case with other NASes from other manufacturers but I'm not too familiar with it.
The Hardware
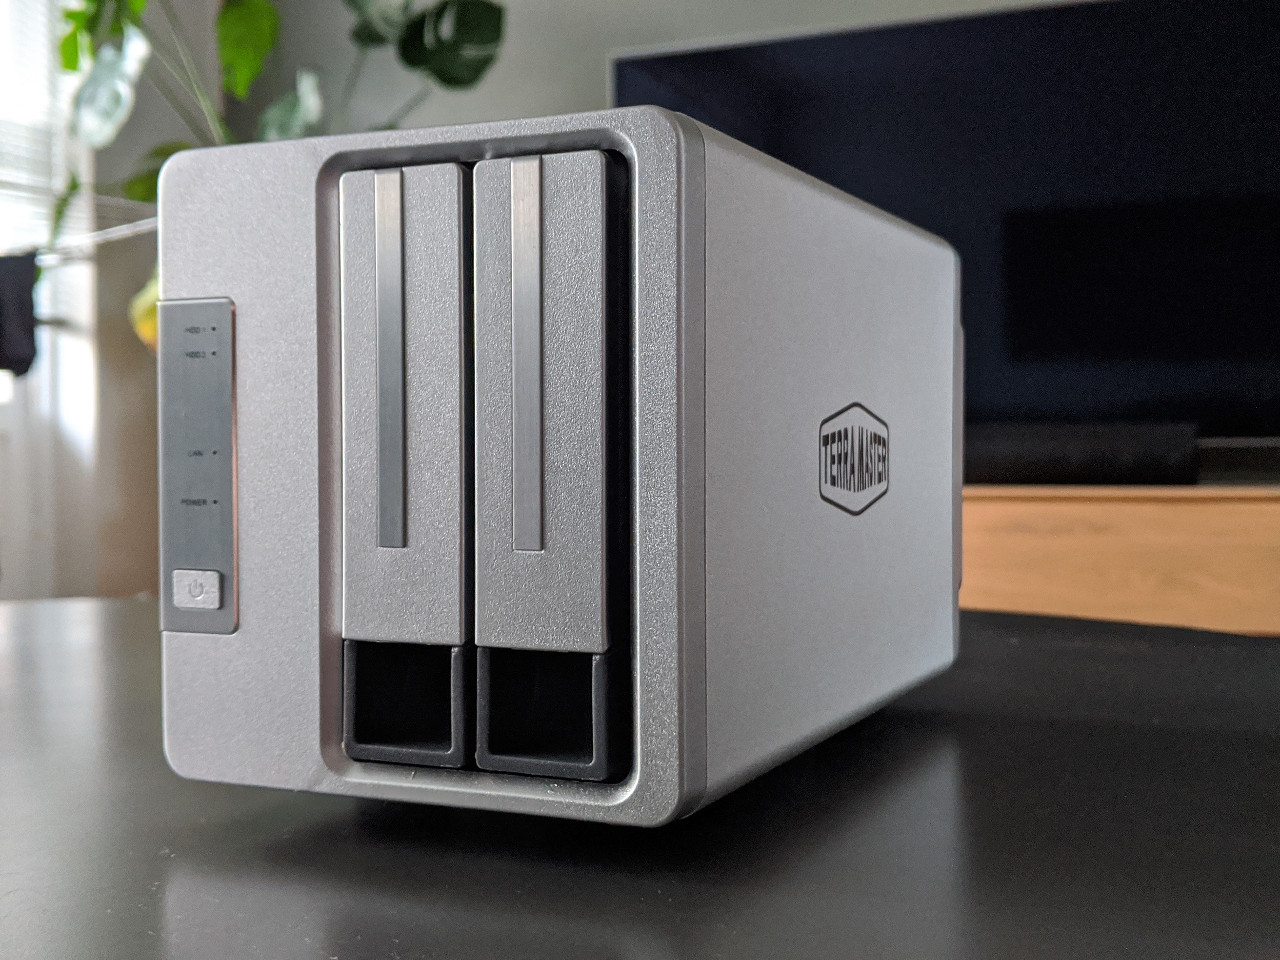
The Terramaster F2-221 has an Intel Celeron J3355 CPU and 2GB of DDR3 memory but has an unpopulated SODIMM slot so you can upgrade the memory. The J3355 has Intel HD Graphics 500 with Quick Sync support which makes it capable of Hardware-Accelerated Transcoding in Plex. Terramaster claims that it can do two simultaneous 4K streams but I have not put that to the test.
Opening it up is very simple, there's just 4 screws in the back of the unit that need to be unscrewed, even the screwdriver is included. After that you can unplug the fan and slide the aluminum shroud off the unit, revealing the motherboard. From there you can pop in extra RAM without unscrewing the motherboard. Terramaster does sell some "compatible" RAM on Amazon but I popped in a DDR3 1600MHz 4GB stick I had on hand and it worked perfectly fine.
The Software
The USB stick plugged into the internal header doesn't actually run the OS as it turns out. It just boots a minimal environment exposing a web server which you can navigate to to actually install Terramaster OS (TOS) by going through a fairly user friendly wizard.
It partitions your hard drives installed in the unit and raids them using mdadm, one for the operating system and one for the data storage (I'm writing this from memory, but that's the gist of it). On the raided data partition it uses btrfs.
Now, I already have a couple of drives that are formatted with btrfs in raid1 configuration. That means that I would need to wipe them to install TOS on there and then migrate my files back on to them. The installation wizard does display a warning about this.
For those reasons and that TOS is not that great for my requirements I decided to install my own NAS OS (this was my plan before buying the unit). I do however realize that I'm probably not the average user that would buy this and TOS does look fairly user friendly.
Improving the software
In my aformentioned NAS VM I'm running NixOS and it's been an absolute bliss. If you're not familiar with NixOS, it has a completely declarative approach to configuration management and has atomic upgrades and rollbacks. It does have it's own functional language, Nix, for configuring the system. You can configure the system without knowing much about Nix but it's totally worth learning if you want to get serious about NixOS. Read more about NixOS.
For some reason the HDMI on the back of the Terramaster turns off after a few seconds after booting it (I can see the GRUB menu and the kernel boot log but then it turns off). This happened with any distro I tried so eventually I created a custom NixOS live CD that has a known root password and automatically starts an SSH server for me to connect to from another machine. From there I can do a regular install of NixOS.
You will need to add the following in the config for your custom live CD to enable the SSH server:
services.openssh.enabled = true;
systemd.services.sshd.wantedBy = lib.mkOverride 40 [ "multi-user.target" ];
And you want to enable root login:
services.openssh.permitRootLogin = "yes";
Why is my CPU overheating?
When opening the case and unplugging the fan you may notice that the fan is connected to a header marked on the PCB as SYS_FAN2. Well, a fan connected to this header does not spin up when the CPU heats up. It's only a 10W CPU but it can get quite hot if under load for a while uncooled. Naturally I turned to lm_sensors.
nix-shell -p lm_sensorswill give you a new shell where lm_sensors is installed and its executables in path. When you exit this shell none of lm_sensors' executables are in path and it will be removed completely from the system next timenix-collect-garbageis run.
Running sensors-detect
revealed that the Super I/O chip on the system is IT8613E
which the module it87
thankfully does support. Modules coretemp
and it87
should be loaded and in NixOS that should be done by including the following in /etc/nixos/configuration.nix
and running nixos-rebuild switch.
boot.extraModulePackages = with pkgs.linuxPackages; [ it87 ];
boot.kernelModules = ["coretemp" "it87"];
That gives us the ability to monitor CPU temperature and current fan speed. lm_sensors
however also includes a program called fancontrol
which is a bash script that periodically checks the CPU temperature and sets the fan speed accordingly. You can run pwmcontrol
to go through a wizard setting up the fancontrol
config and writing it in /etc/fancontrol. Mine is below, however you have to load coretemp
and it87
before any other hwmon
modules and in that order in order for it to work, so you might be better off running pwmcontrol
yourself.
INTERVAL=10
DEVPATH=hwmon0=devices/platform/coretemp.0 hwmon1=devices/platform/it87.2592
DEVNAME=hwmon0=coretemp hwmon1=it8613
FCTEMPS=hwmon1/pwm3=hwmon0/temp1_input
FCFANS= hwmon1/pwm3=hwmon1/fan3_input
MINTEMP=hwmon1/pwm3=20
MAXTEMP=hwmon1/pwm3=60
MINSTART=hwmon1/pwm3=52
MINSTOP=hwmon1/pwm3=12
After that you can simply run fancontrol. Most distros provide a service file for systemd or whatever init system you're using. NixOS, however, doesn't so in your /etc/nixos/configuration.nix
you can include the following.
systemd.services.fancontrol = {
  enable = true;
  description = "Fan control";
  wantedBy = ["multi-user.target" "graphical.target" "rescue.target"];

  unitConfig = {
    Type = "simple";
  };

  serviceConfig = {
    ExecStart = "${pkgs.lm_sensors}/bin/fancontrol";
    Restart = "always";
  };
};
This will make fancontrol
start on boot and will spin up the fan under load.
Lets control those HDD LEDs
All the Terramaster NAS have 2-5 LEDs (depending on how many drives it takes) that indicate if a drive is installed or not. Each of the HDD LEDs are bi-color (red and green). When you boot this NAS into another distro than TOS you will notice that you have no way of controlling the LEDs.
In TOS you can install an SSH server, so after doing that and browsing the system a little bit I noticed that a kernel module called led_drv_TMJ33
was loaded. Even though this was looking promising, after looking for this module online I came up empty. Finally I decided to email their support asking for the source, because as far as I understand kernel modules distributed with products must be GPL compliant. After a few emails back and forth they agreed to send me the source code.
This module was not all that well written. It creates char devices /dev/leddrv[1-10]
that you can write into "led[1-10]on"
and "led[1-10]off". However they don't do any tracking on which char device the user is writing into, meaning echo led2on > /dev/leddrv5
will actually turn on led2, so will echo led2on > /dev/leddrv3. I didn't like that interface so I wrote my own module with the original one as reference on how to interface with the hardware.
My module creates char devices /dev/hddled[1-5]. Each device can only control a single LED. You can write [0-3] into them to control the LED in question. The source for my module can be found here. There is a Makefile and dkms config in the repository so it should be able to be used in any distro, not just NixOS.
The values do the following:
0 - OFF
1 - GREEN
2 - RED
3 - BOTH (orange)
So, running echo 1 > /dev/hddled2
will turn LED 2 green. The module does not handle any detection of drives installed. This will have to be handled by a user space program that will write in appropriate hddled char devices.
Packaging for NixOS
I'm not gonna go too deep into packaging for Nix but I will show a working derivation below. I recommend reading Nix pills if you're interested in learning Nix.
{ stdenv, fetchFromGitHub, kernel }:

stdenv.mkDerivation rec {
  name = "hddled_tmj33-${version}-${kernel.version}";
  version = "0.1";

  src = fetchFromGitHub {
    owner = "arnarg";
    repo = "hddled_tmj33";
    rev = version;
    sha256 = "0izz2xxg47rsj88pfqrx035n8hz78bqna41vljwc29r8aid9rnk9";
  };

  nativeBuildInputs = kernel.moduleBuildDependencies;

  # We don't want to depmod yet, just build and package the module
  preConfigure = ''
    sed -i 's|depmod|#depmod|' Makefile
  '';

  makeFlags = [
    "TARGET=${kernel.modDirVersion}"
    "KERNEL_MODULES=${kernel.dev}/lib/modules/${kernel.modDirVersion}"
    "MODDESTDIR=$(out)/lib/modules/${kernel.modDirVersion}/kernel/drivers/misc"
  ];

  meta = with stdenv.lib; {
    description = "A linux module for controlling the HDD LEDs on Terramaster NAS devices with Intel J33xx CPU";
    homepage = https://github.com/arnarg/hddled_tmj33;
    license = licenses.gpl2;
    platforms = [ "x86_64-linux" ];
  };
}
This derivation then needs to be appended to the list of extra module packages.
{ pkgs, lib, ... }:
let
  hddled_tmj33 = lib.callPackage ./hddled_tmj33.nix { kernel = pkgs.linuxPackages.kernel; };
in {
  ...
  boot.extraModulePackages = with pkgs.linuxPackages; [ it87 hddled_tmj33 ];
  boot.kernelModules = ["coretemp" "it87" "hddled_tmj33"];
  ...
}
Plex Media Server
To install Plex Media Server you must include the following in your /etc/nixos/configuration.nix.
# Plex has an unfree license
nixpkgs.config.allowUnfree = true;

# For hardware transcoding
environment.systemPackages = [ pkgs.libva ];

services.plex.enable = true;
# If you have enabled the firewall
# It will open necessary ports in your firewall
service.ples.openFirewall = true;
After getting a Plex Pass subscription and turning on hardware transcoding for this server I can transcode videos with fairly low CPU utilization.
Conclusion
I've really enjoyed having this setup. After setting it up initially I've barely had to touch it and I can run automatic updates and trust that they won't mess up the system completely (I can always rollback the whole system). Since this experiment went so well I've also started using NixOS on my workstation and nix-darwin on my work macbook.
My only regret is not buying a bigger one, like the F4-221. Looking at the thick border on the right side of the drive bays suggests to me that this unit might be identical to the 5-bay one except with one drive bay blocked off, which would be a perfect place for an SSD to boot from. Some pictures in a review seem to back that up as there is a SATA connector behind there, it may be disabled though. But as I'm using both of my drive bays for HDDs I'm booting the OS off an external drive.
You can find my full NixOS configuration for my NAS here.
Discuss on Hacker News or Reddit